I illustrated my eBook‘s cover and a few minor elements inside. Penelope, age seven and maybe the most artistic of our kids, wanted to learn how. So here’s what we did: A simple step by step for turning line drawings into computer illustration.
What You’ll Need
- white paper
- pencil
- black pen or fine tip marker
- camera or scanner
- Photoshop, Gimp or similar software
Step One: Draw
Draw your design lightly in pencil on stark white paper. Then go over it with black pen or fine tip marker. I prefer pen because it’s warbly and imperfect. And that’s what we’re going for here. This project is great for the type-A kid who needs a little nudge to color outside the lines.
Step Two: Import Into The Computer
The easiest way to get your line drawing into your computer is by scanning it. But if, like me, you don’t have a great scanner, you can use a camera. It’s not a method for the impatient though.
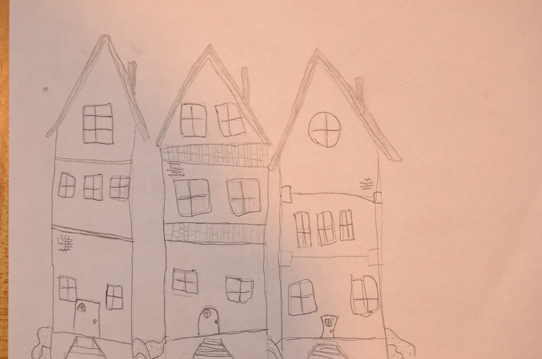
First, I took a picture of Penelope’s drawing. It looked like this.
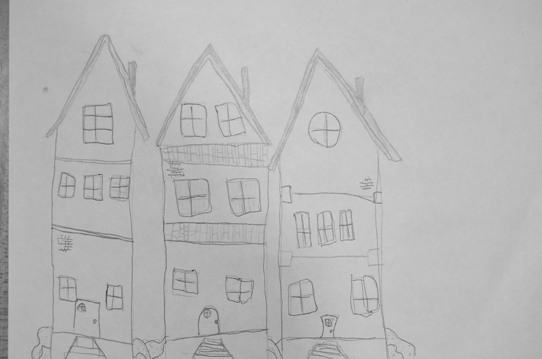
Next, I turned the image black & white.
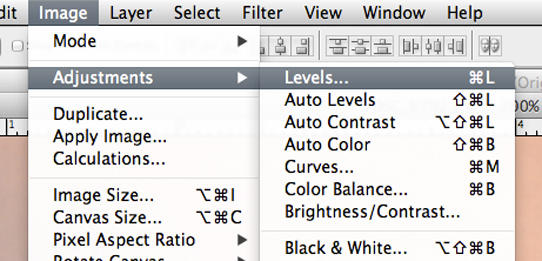
Then, I went to the “Image” menu in the toolbar. From the dropdown menu I chose “Adjustments” and then “Levels.” Using “Levels”, I got rid of all gray.
In “Levels” you’ll see three little icons that look like medicine droppers. Click on the black one and then click a line in your line drawing – a lighter line. Photoshop will turn everything that is the shade of that line and darker into black. Choose the white dropper and then click on an area of the drawing you want to be white – an area that’s gray. Every part of your drawing that is that shade or lighter will now be white.
Ok, the hardest part is over. Step three!
Step Three: Get Rid Of The White
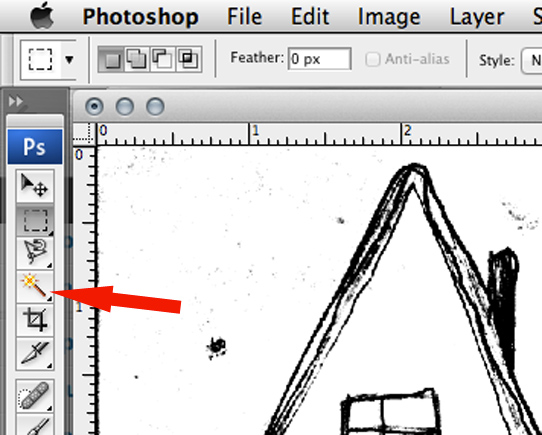
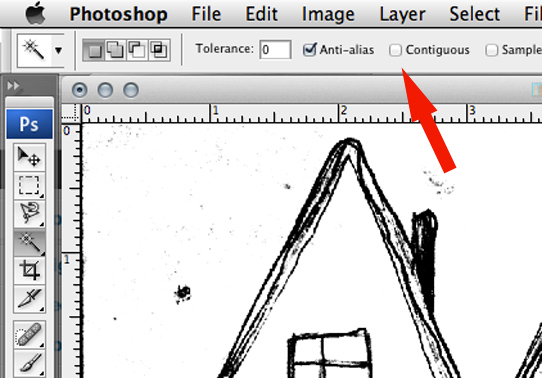
Using the magic wand tool (looks like a stick with a puff ball on the end), click on the white part of your image. (Make sure “contiguous” is not selected.)
All the white parts will be outlined with dashes that will seem to vibrate. Stare at your screen for a few minutes enjoying the psychadelicness of the moment.
Moment’s over.
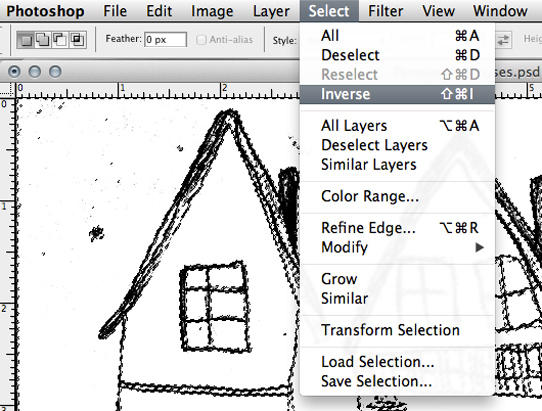
Under the “Select” menu, choose “Inverse.”
Now the psychadelic dashed line should be dancing around all the black parts.
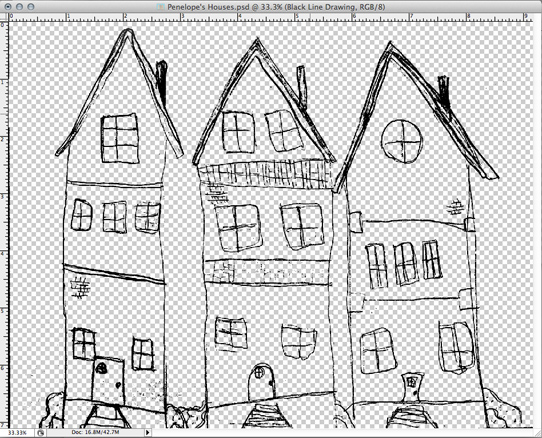
While the line dances for you, create a new layer. Fill the area inside the dancing dashed line. Turn off the black and white layer and – BAM! – you should have nothing but black lines and a transparent background like so…
Step Four: Paint!
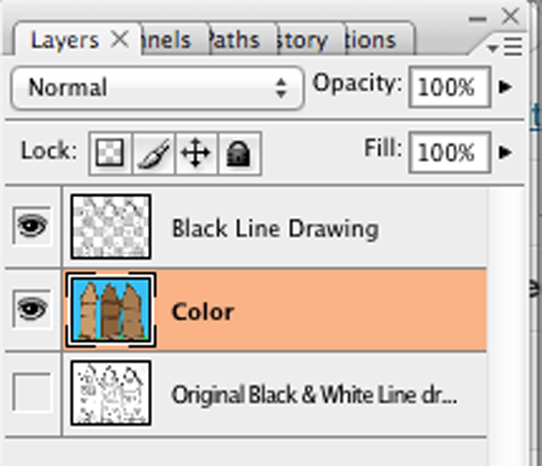
Create a new layer under the layer containing your line drawing. Save. Because you’re about to hand your computer over to a kid.
Choose a paintbrush for your child and show them how to change the colors and paint. Let ’em at it.
When they’re all done? Save, export, print…frame.
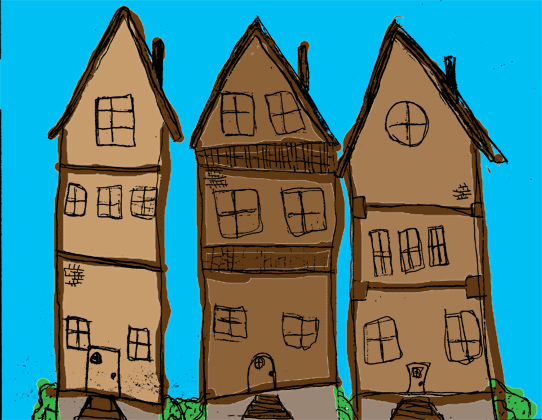
Here’s the final masterpiece!
And here’s mine. I used the eraser tool and a grunge brush to add texture.
And that, my friends, is why my illustrated ebook isn’t free.
I’m sure there are better ways of going about this, but I’m a singer and not a graphic designer so teach me. Leave a comment. I’d love to learn from real experts.
 Shaun Groves



Kristy K says:
How fun! My son loves to draw, and usually we just scan his artwork… I never thought about editing it for cool effects!
Kathy Schwanke says:
I love this! That is awesome! Thanks! …moments over…lol
Katie Axelson says:
Thanks for the tutorial. I also really like that the only photo you bothered to add “click to enlarge” on was your own coloring. I’m pretty sure that’s not a coincidence. 😉
Katie
Kim says:
Awesome! I’d love to try it with some of my student’s artwork. I’ll have to look for a scanner somewhere. 🙂
JD says:
Is your e-book available for purchase with Paypal?